

Laser source alarms are frequent failures of laser cutting machines, mainly caused by abnormal power supply, defective cooling systems, damaged or contaminated optical components, control system signal errors, and mechanical faults.
This article summarizes five core, practical troubleshooting directions, offering standardized inspection steps and professional maintenance guidelines to help users quickly locate and resolve common laser source alarm issues.
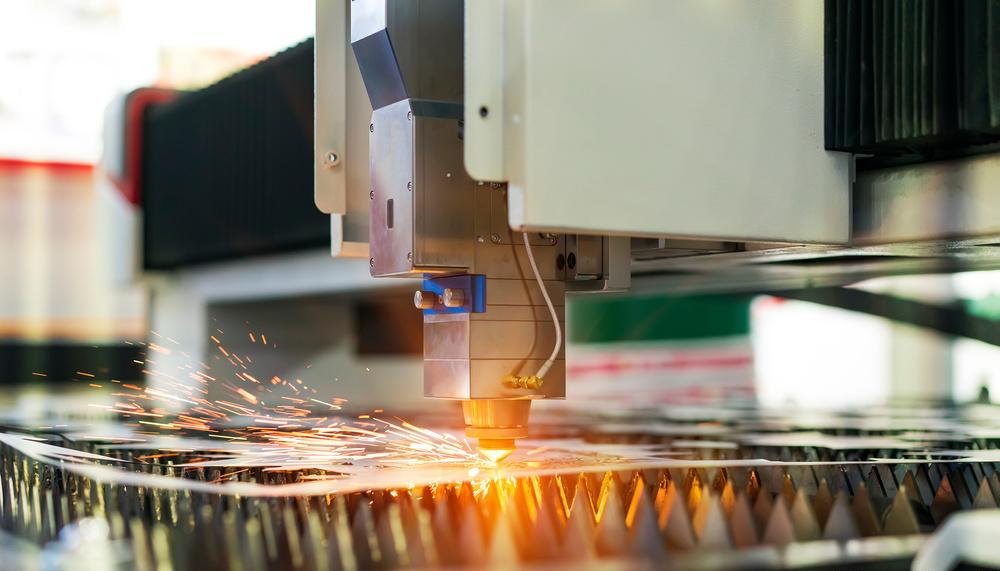
1. Power Supply Troubleshooting
Unstable power supply is the top cause of laser source alarms. Fiber and CO2 lasers are highly sensitive to voltage fluctuations, which easily trigger overvoltage, undervoltage and instantaneous power failure protection. Follow these inspection steps:
- Use a multimeter to verify the machine’s output voltage is within the rated range
- Check for tripped air switches or poor electrical contact in the distribution box
- Check for instantaneous voltage drops caused by simultaneous operation of multiple on-site devices
Note: For YAG lasers, additionally inspect the energy storage capacitor bank to rule out alarms caused by capacitor aging and performance degradation.
2. Cooling System Inspection & Maintenance
Lasers feature built-in temperature protection. Abnormal cooling circulation causes overheating and triggers sensor-based protection alarms. Adopt the following inspection steps:
- Check the coolant level and replenish fluid promptly if below the minimum scale
- Check cooling pipeline circulation to identify blockages or water pump stalling
- Dismantle and inspect the filter element for impurity blockage that impairs heat dissipation
Maintenance Suggestion: Replace coolant every 3 months. Shorten the cycle in hard water areas to prevent scale and sediment blockage.
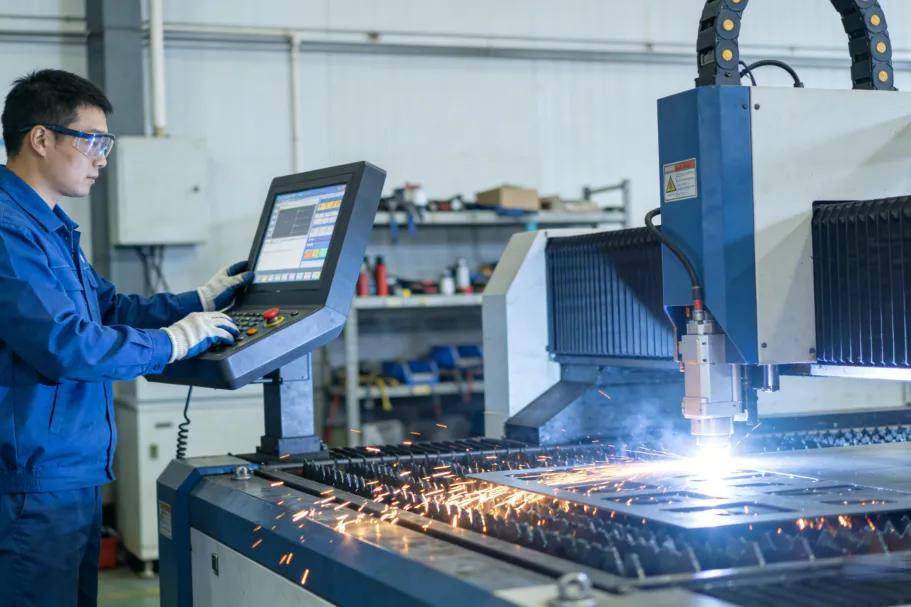
3. Optical Component Inspection & Maintenance
Contaminated, scratched or coating-peeled optical lenses cause laser energy loss and uneven light transmission, triggering power attenuation alarms. Complete optical path inspection is essential for daily troubleshooting:
- Inspect protective lenses, focusing lenses and reflectors for dirt, scratches and coating damage
- Wipe lenses unidirectionally with a professional laser lens cleaner and dust-free cloth to avoid secondary pollution
- Replace damaged lenses immediately if cracks or coating peeling occur
Precaution: Do not use ordinary alcohol-based cleaners, which corrode lens coatings and cause permanent optical path damage.
4. Control System Diagnosis
Signal faults and incorrect parameter settings in the control system commonly cause false alarms and abnormal laser operation. Troubleshoot via signal and parameter verification:
- Reconnect and secure wires between the control card and laser source to fix poor signal contact
- Confirm system parameters match the actual laser model
- Check historical alarm codes to distinguish persistent faults from occasional signal interference
Key Reminder: Fiber laser and CO2 laser control protocols are incompatible. Arbitrary parameter adjustments cause system mismatch and continuous alarms.

5. Mechanical Component Overhaul
Mechanical abnormalities do not directly control the laser source but cause unstable operation, indirectly triggering laser protection alarms. Focus on the following inspection items:
- Manually move the laser head to check guide rail and slider resistance, jamming and abnormal wear
- Check air pipe connections for air leakage that causes unstable air pressure
- Inspect belt tension and check bearings for abnormal noise or stalling
Preventive Maintenance Tip: Reserve standard screws and special lubricants for routine upkeep to reduce mechanical failures.
Essential Maintenance Tools for Daily Troubleshooting
Professional anti-static tools ensure safe and efficient fault troubleshooting. The following tools are recommended for daily maintenance:
- Laser power meter: Real-time calibration of laser output energy to detect power attenuation
- Professional optical cleaning kit: Safe lens cleaning without secondary damage or pollution
- Cooling system pressure tester: Monitor water pressure and pipeline smoothness for stable heat dissipation
Tool Selection Standard: Use only anti-static maintenance tools to avoid static damage to precision electronic components and laser sources.

Conclusion
Most laser source alarms on laser cutting machines can be resolved by systematic inspection of power supply, cooling circulation, optical components, control systems, and mechanical parts.
Standard daily maintenance and standardized troubleshooting effectively reduce alarm frequency and extend laser source service life.
For complex and hard-to-diagnose faults, please contact professional after-sales technicians to avoid equipment damage from improper operation.
